 Inside or Out Easter Foam Hanging Decorations
Looking for new ideas on holiday decor?
Maybe you want something the whole family can participate in?
Or just an easy craft that won’t break the bank?
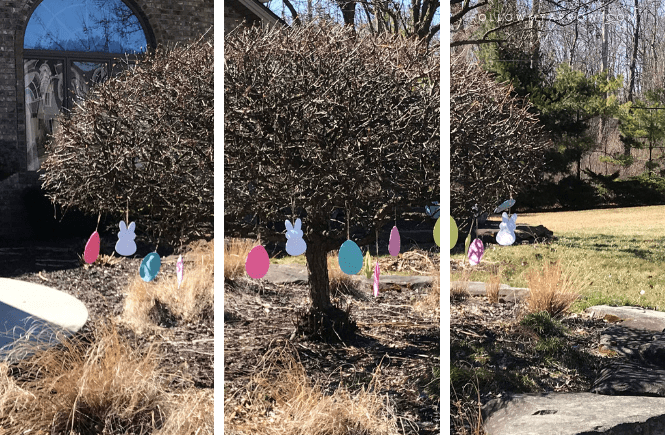
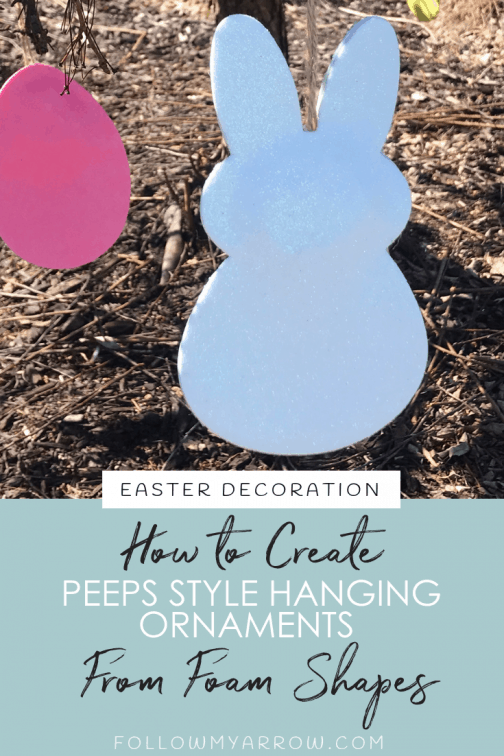
These super simple homemade (and cheap!) foam Easter decorations are the perfect DIY project to bring some spring cheer to your home! They are a sturdy little foam eggs and bunnies that hold up great outdoors even in wind and rain. Rather decorate indoors? No problem! These look adorable in the house hanging from a lampshade or from a mantle.
What You’ll Need:
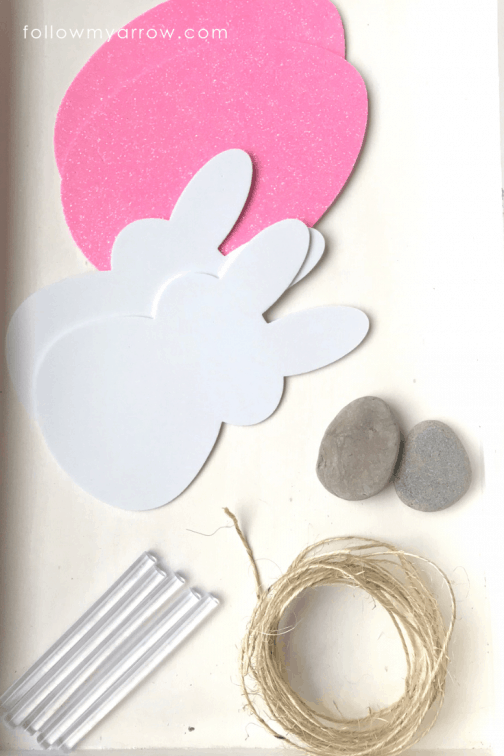
- Twine or Rope to hang – You can find options at Joann’s, Hobby Lobby, or right TWINE / ROPE on Amazon.
- Foam shapes (you can do this for any holiday or theme, not just Easter!) – You can find these at Joann’s, Hobby Lobby, or right HERE on Amazon.
- Rocks (Take a family trip to the beach and have fun collecting flat rock!)
- Glue gun – I use this one HERE and it works great! Hobby Lobby has great options as well.
- Glue sticks – I always find the best prices on Amazon for them. These are my favorite HERE. Again, if you want to just run out and grab what you need, Hobby Lobby and Joann’s are my go-to 🙂

Step 1:
Cut the twine to the desired length. I used about 12 inches for a 5 inch finished hang. TIP: Take into consideration where you plan to hang your finished foam Easter decoration when determining your desired length. TIP: Don’t go with an extra long hang if planning on placing in a tree, they will tangle.
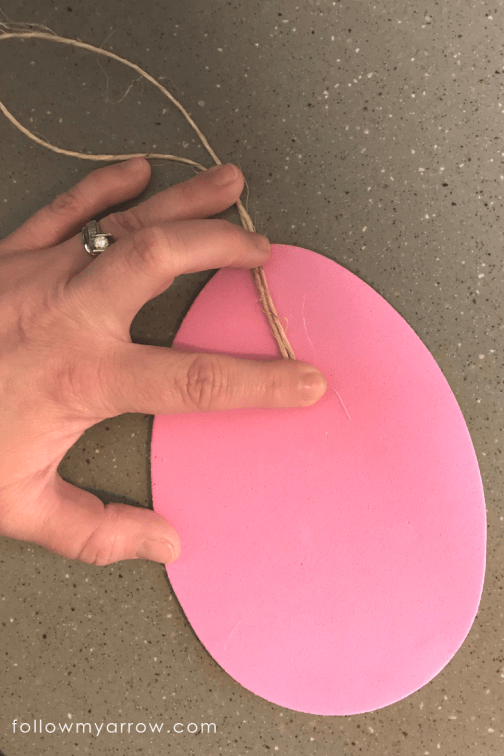
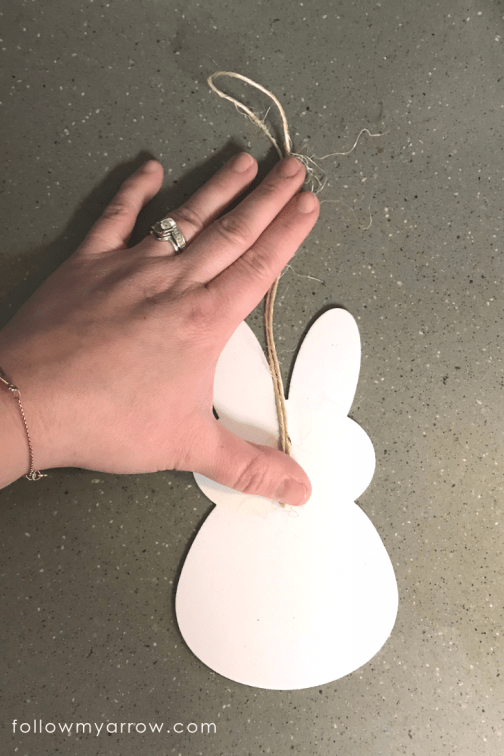
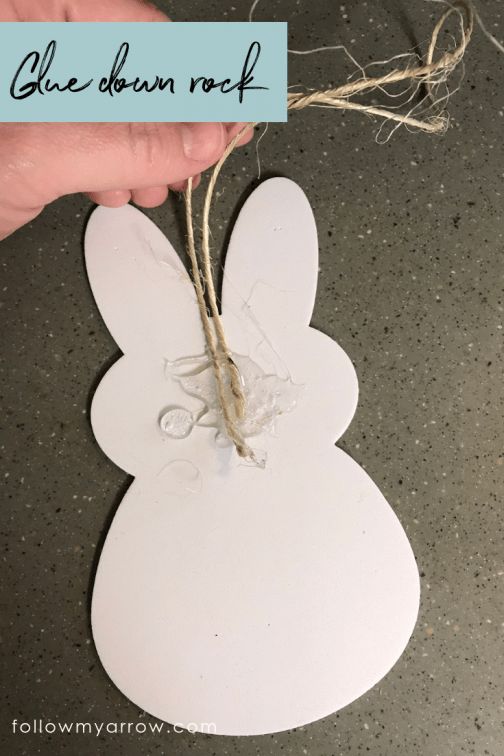
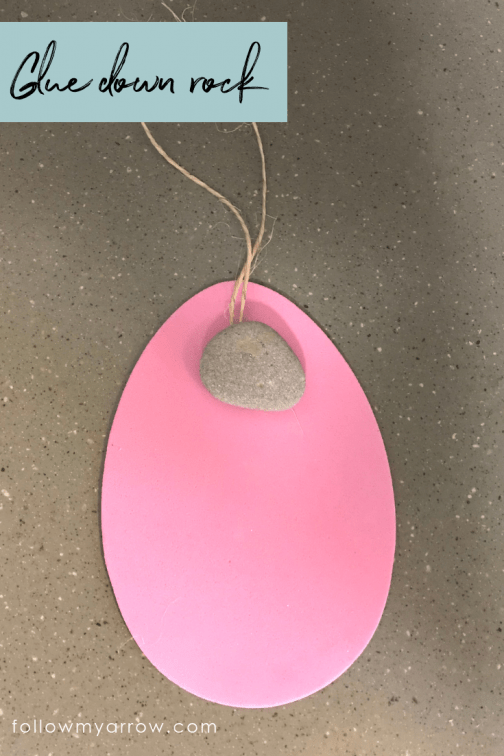
Glue to the back of one foam shape along with flat rock. TIP: Eyeball rock size prior to gluing. It won’t be possible to move the rock after placing, the glue dries fast! TIP: For extra security, glue around the perimeter of the rock.
Step 2:
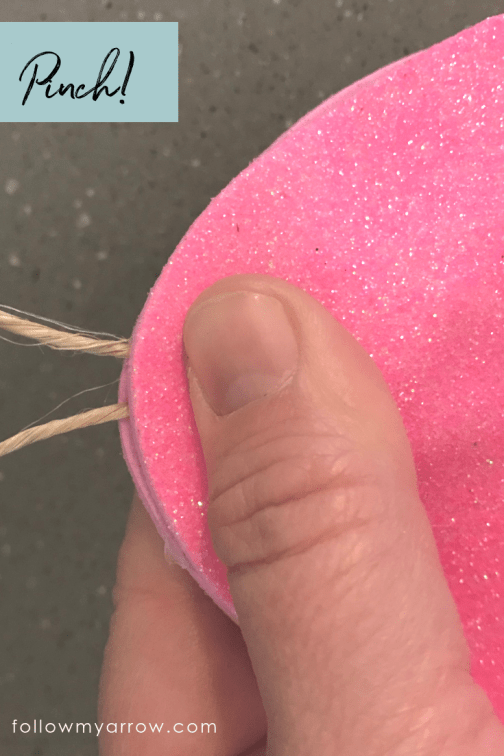
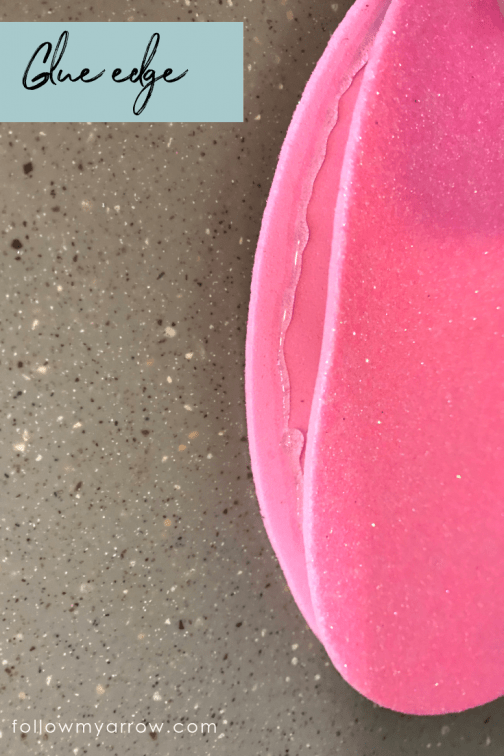
Glue rock top and top edge of foam Easter decoration shape. Place the second foam shape on and press firmly pinching the edges to ensure a tight seal. TIP: Pinch don’t push. Pick up and pinch the edges rather than push on the table so that you are able to meet the shape edges in the middle for best results.
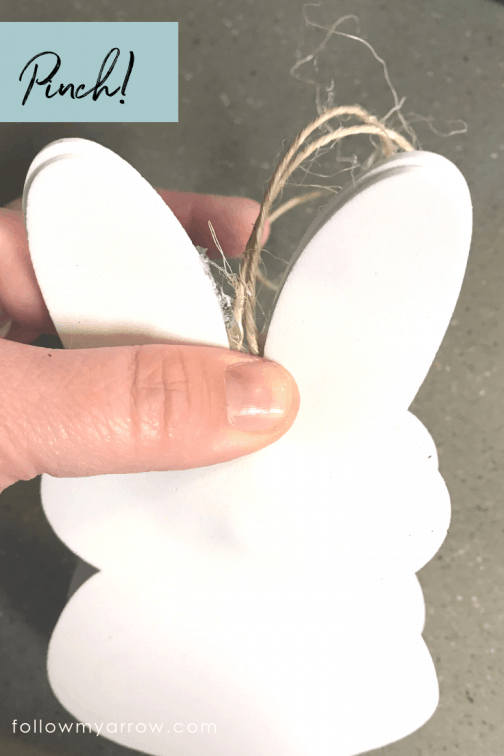
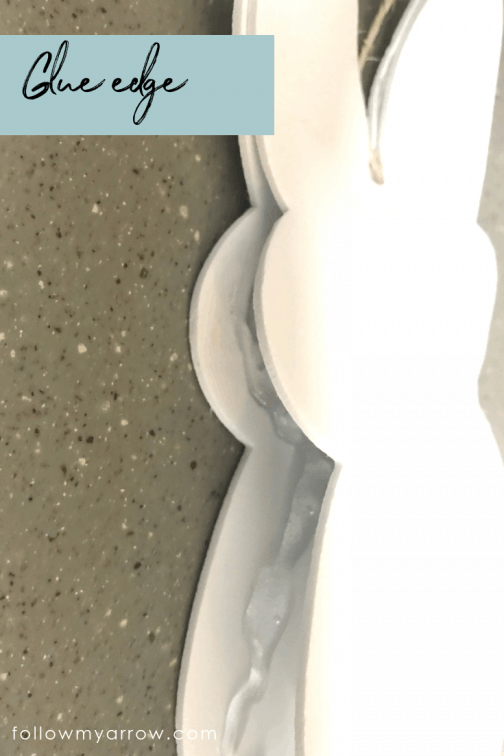
Continue this all the way around the shape until it is fully sealed. TIP: Alternate from side to side (right to left) as you go to make sure the shapes stay aligned.
Step 3:
Do a once-over and make sure all edges are sealed especially if you are hanging these foam Easter decorations outside. If you find any openings just add a squirt of glue and pinch to seal. Let it dry completely, about 10 minutes. Hang and Enjoy!!

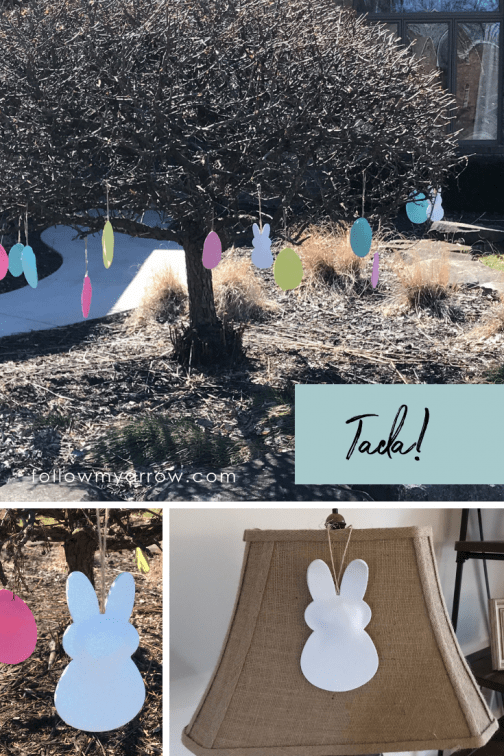
That’s it! Have fun, get creative, and make it your own!
We’d love to see your (cheap!) DIY foam Easter decorations hanging amongst your Easter decor. Share your displays in the comments!

