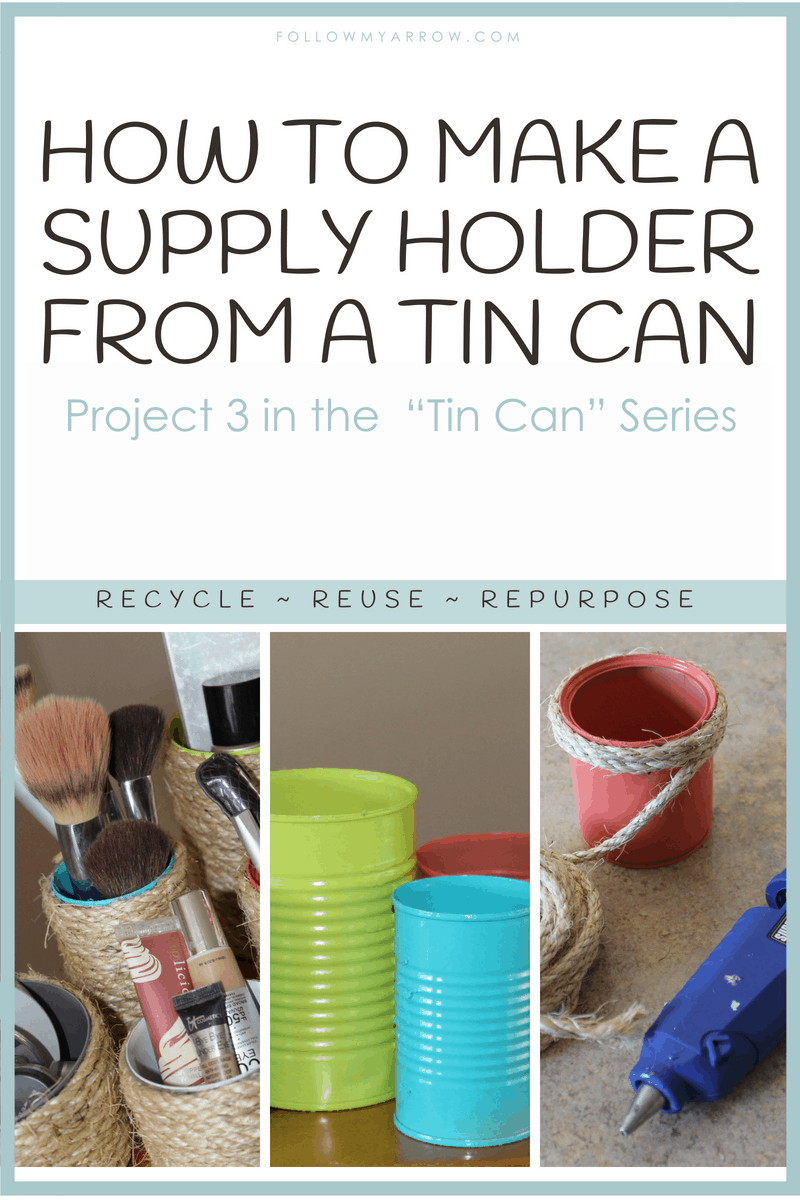
Project 3 in “Tin Can” Series
I love reusing and repurposing things around the home. My tin can collection is rather extensive as is my glass bottle and many other random items I think I might find a use for someday. I’ve gotten to the point of knowing which can brands have a white coated inside, which I’m sure to buy more of when I know a project is coming up or just feel like my stock is low;) Today I am sharing with you project three in my “Tin Can” series!
SUPPLIES NEEDED:
- Assortment of tin cans
- Spray Paint (Assorted colors) I used Rust-Oleum Ultra Cover 2X Gloss Spray Paints
- Natural Twine
~ Something with a little weight, I used 1/2 inch
- Stanley Hot Melt Glue Gun
ASSEMBLY:
- Start with a few different sized tin cans. You can use them raw (unpainted) or paint them with coordinating colors. I chose to paint them because I like the peek of color from under the rope and inside the can:)
- Next you will need to use a hot glue gun to adhere the rope to the tin can. I chose to use a wider rope for this project but any size will work. Start at the top of the tin can so that you can be sure to get a clean finish at the opening. Gradually work your way down. You can keep the rope tight for a cleaner look or allow for some paint to show between the rows for a more rustic look. Be sure to use a fair amount of glue on each row to ensure your masterpieces holds up for any use you may find for it;)
- Once you get to the bottom of the tin can, go every so slightly past the can bottom. This will allow for a softer bottom and offer a little protection to any surface you place it on. Finally, cut the rope end on an angle to get a clean finish.
Some ideas for use:
- Makeup Holder Tin Can Set
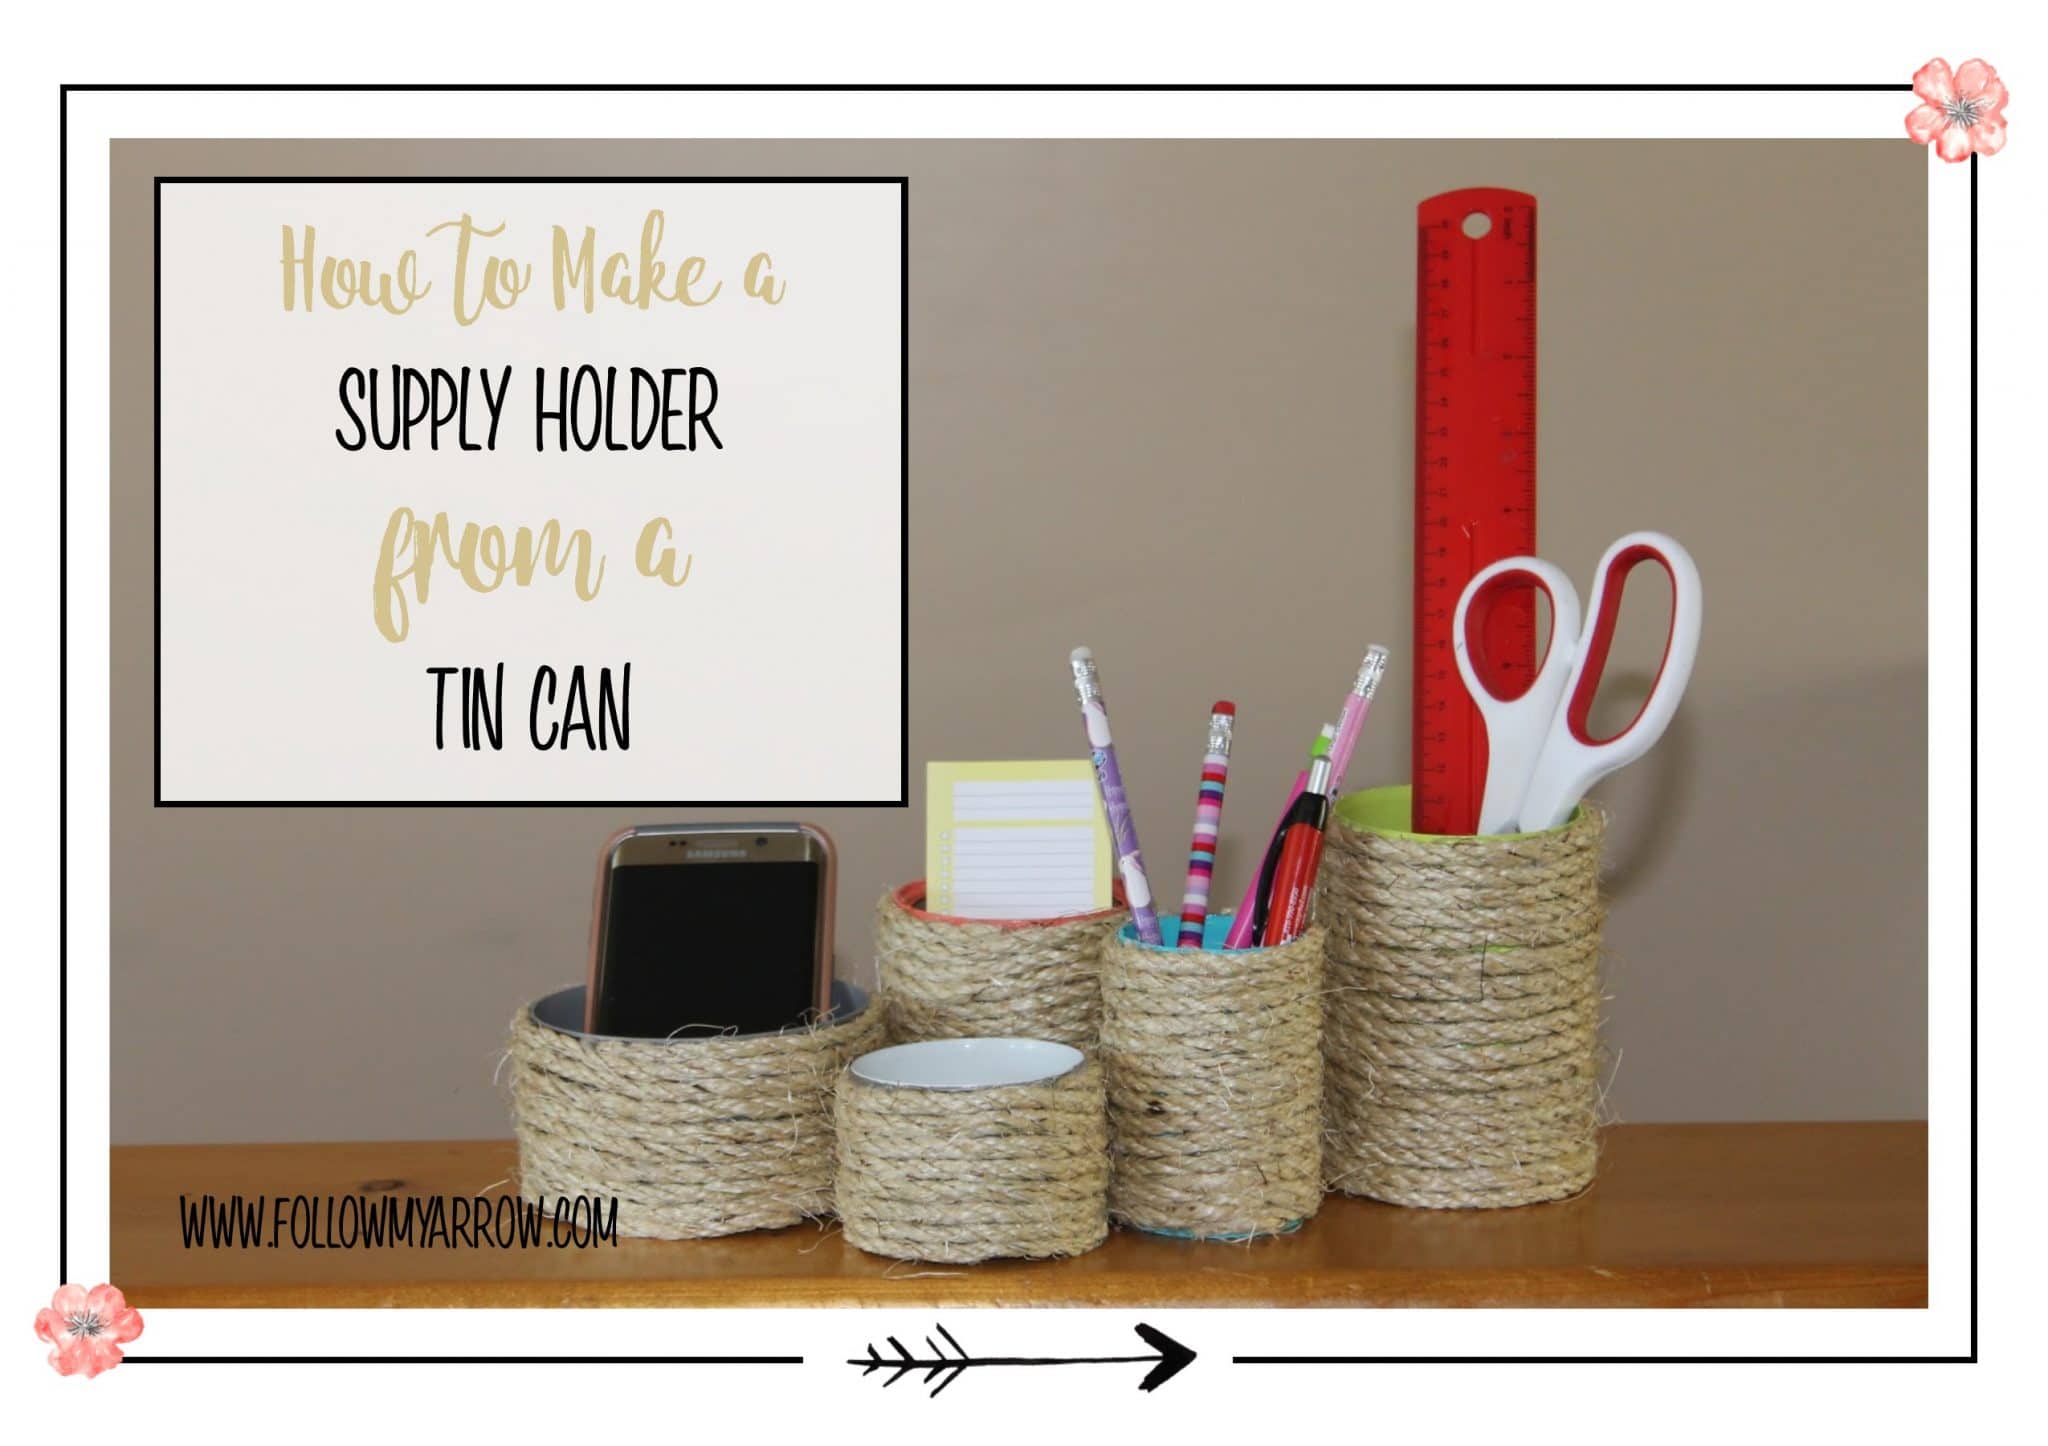
- Desk Supplies Tin Can Holder
- Kitchen Utensil Tin Can Holder
- Tin Can Hair Brush/ Supplies Holder
I’d love to hear what you decided to use yours for!


